
This project is one I saw on Pinterest a long time ago,
and I finally got around to trying it!

Here is the original (pin)spiration from pinterest:
Once I clicked on that it brought me to the tutorial from a blog that I like to read sometimes called Tatertots and Jello!

First you need to cut out a whole bunch of interesting textures and colors from a magazine-- one issue of Better Homes and Gardens did the trick for me.

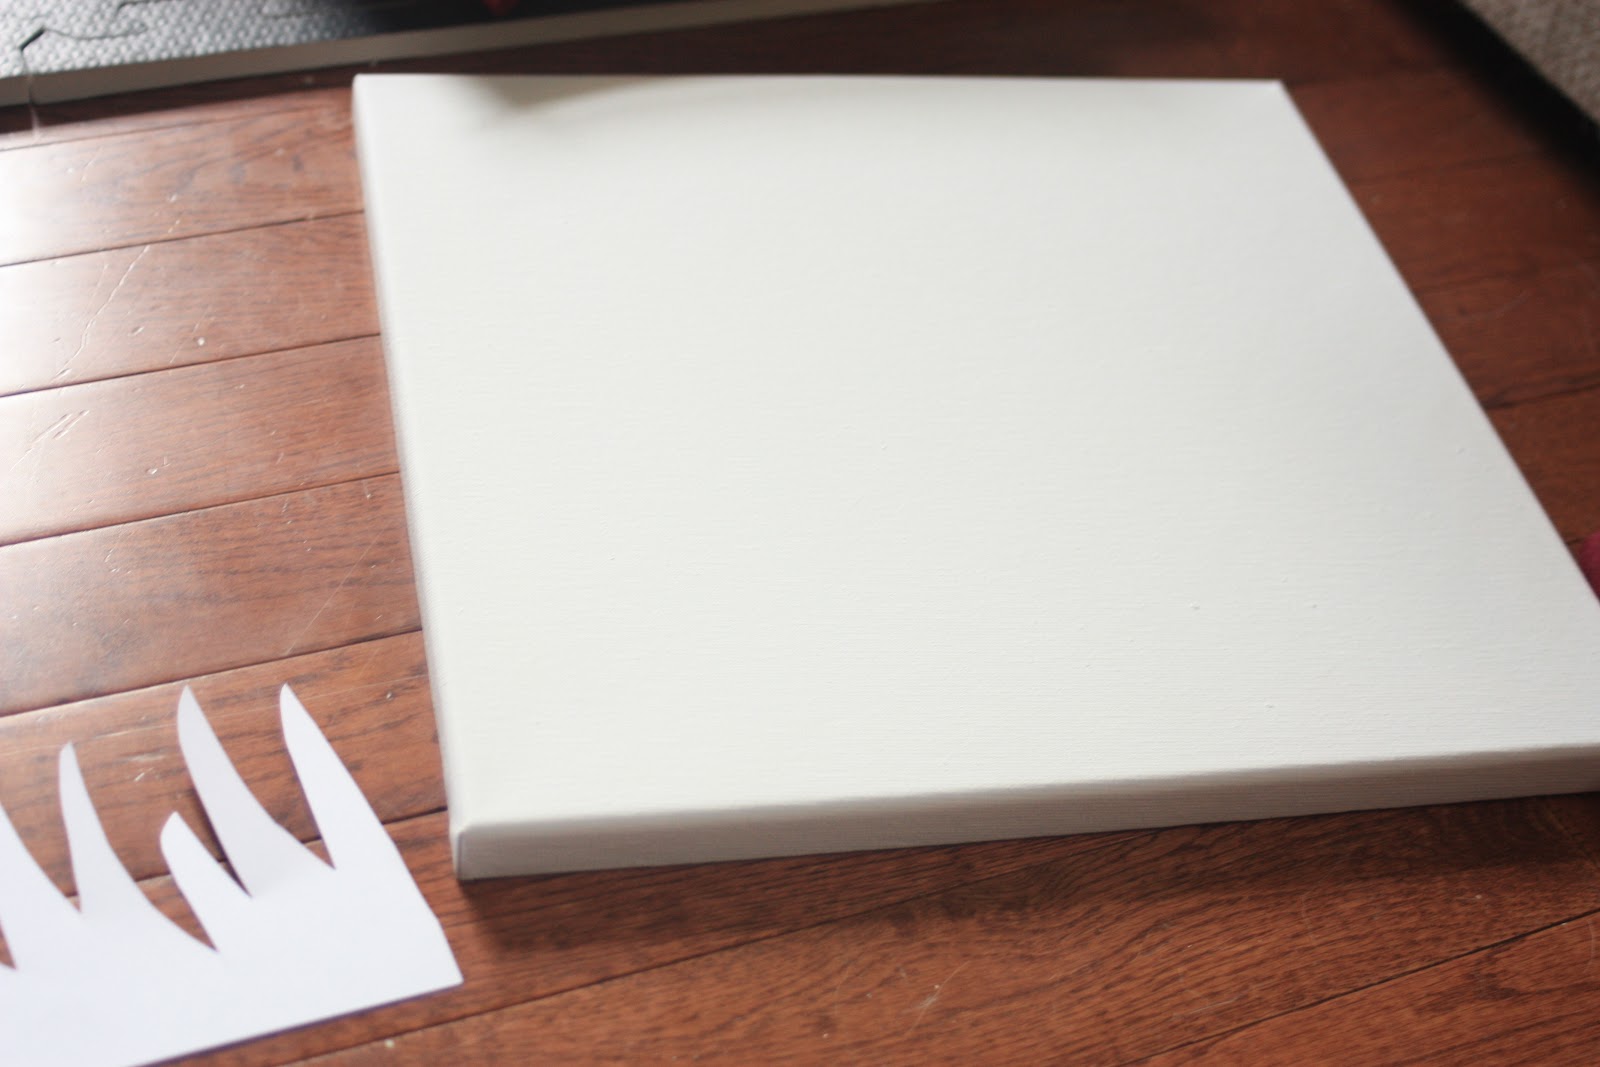
Decide what you want the colored part of your picture to look like, and create a stencil of it. I just found images online, printed them onto card stock, and cut them out. If you have something like a Cricut machine, though, you can make something a lot neater!
Take your canvas and use Mod Podge to decoupage the paper onto the canvas. To do this, spread a medium layer on Mod Podge onto the canvas, then a thin layer onto your magazine page and stick it down.
Once you have covered the whole canvas, wait around 20 minutes for the MP to dry, then spread a layer of Mod Podge ove the entire surface, sealing it in. Wait another 20 Minutes before proceeding.

Next comes the tricky part. Trace your design onto your canvas, and paint around the design with paint of your choice. DO NOT use pen to trace around your design like I did. Use something like pencil that you won't be able to see once you paint over it.
I had to spend a very long time on this step to get it to look right, and my pen lines kept showing through, so I had to put about 50 gillion layers of paint on!
When you are happy with the paint, let it dry fully, and then cover the entire canvas with another layer of Mod Podge (I chose Matte)

I was not very happy with what it looked like when it was finished, because the design was hard to see and didn't really pop.

To make it stand out, I traced around the design with black sharpie!!

Now, I really love it! It was time-consuming, but I didn't give up until I had it looking just like I wanted to.
that's awesome!
ReplyDelete